Crocheted Steeks

A couple of weeks ago, a knitter emailed asking if I had any advice about finishing steeks. After I dug up the same garment she was working on to send her a picture, I posted the image on Instagram. Here is a tutorial for my methods, since IG friends seemed to be interested. A steek is a column of stitches located wherever an opening will be needed in a knitted garment. It allows the knitter to knit stranded colour patterns as a tube, so as to avoid turning the work at the end of each row. Stranded colour work is more difficult to read from the wrong (purl) side, and it’s almost always easier to knit with two colours than it is to purl with two colours. In addition, everyone’s tension is more even and everything matches. When the piece is completed, a cut is made along the steek where it is needed.
 For the purpose of this tutorial, I made a quick swatch on my machine using a 9-stitch steek down the centre. You really only need 3 stitches for the method I am about to show you, but do use an odd number if you intend on following this tutorial. The stitches are kept live, but can be transferred onto waste yarn - if you do use waster yarn, please don’t machine stitch across it.
 If you research steeks, you will come across another method using the sewing machine. In order to be comprehensive, I decided to show how one would add a layer of security to steeks by machine stitching. Please keep in mind that while not necessary for most untreated wool, you definitely should use machine sewn steeks to other fibres as well as for treated wool (I.e. Superwash). This includes natural (of plant and/or animal origin) and synthetic fibres.In the photograph above, I have used several aids:The first is a walking foot; it’s useful, but not essential. Use it if you own one. Note that my machine has integrated dual feed, a feature similar to a walking foot.Second is a leader - that’s the piece of blue fabric seen at the back edge of the presser foot. A leader is like waste yarn to the sewing world: you sew a few stitches onto it so as not to risk a thread nest or having the machine swallow the edge of the real piece you are working on. It gets clipped off when the seam is complete.Finally, I use a piece of tissue paper under the work. It aids in feeding difficult fabric…
 …And is easily torn off afterwards.
 With the steek thus secured, I work a three-needle bind-off across the top edge. The centre stitch is bound off last, and care has been taken that all other stitches are bound off with their corresponding mirrored stitches.
 The crocheted edge is worked with the right side of the fabric facing out, along two neighbouring stitch columns. It’s helpful to think of the tree stitch column as 6 halves: the crochet hook is inserted through the centre of two stitches, catching two colds at once. A hook two to three sizes smaller than the main knitting needle is used. Begin with a slip knot on the hook, then insert the tip of the hook through two stitches.
 Pull though another stitch; there are now two loops on the hook. Pull the yarn through both loops.
 Continue picking up loops through each succeeding stitch directly above the last one worked. In the photograph above, the two colours in each pick up can be seen more clearly.
 Once the right edge is complete, continue down the left side, making a U-turn at the top. Note that the edges are worked directly next to one another, with no stitch or part of the stitch in the centre.
 This is how it looks from the wrong side.
 Once the ends have been secured, begin clipping between the crocheted edges.
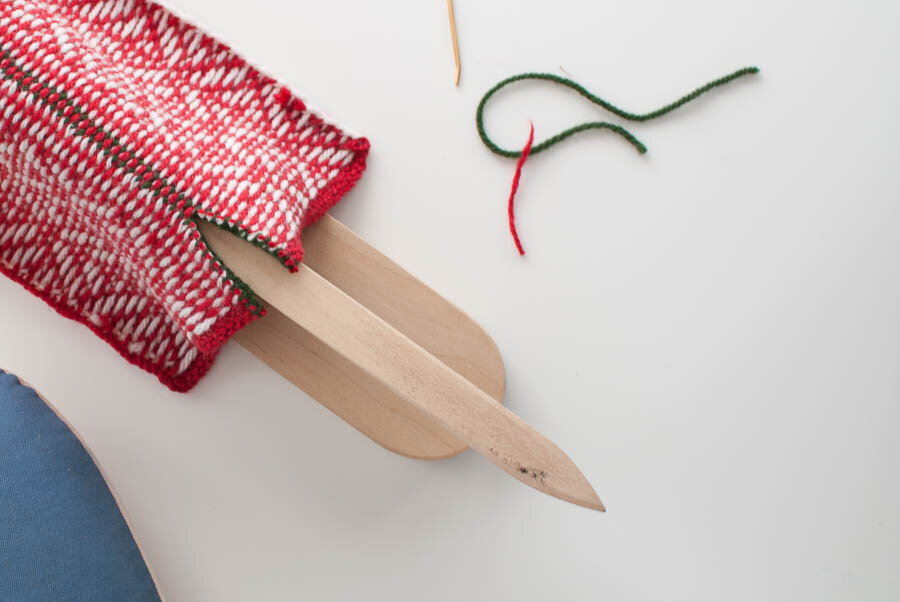 Only the strands are cut, not the crocheted edges.
 Keep cutting all the way to the top.And that’s all there is to it. Do let me know if you have any questions!